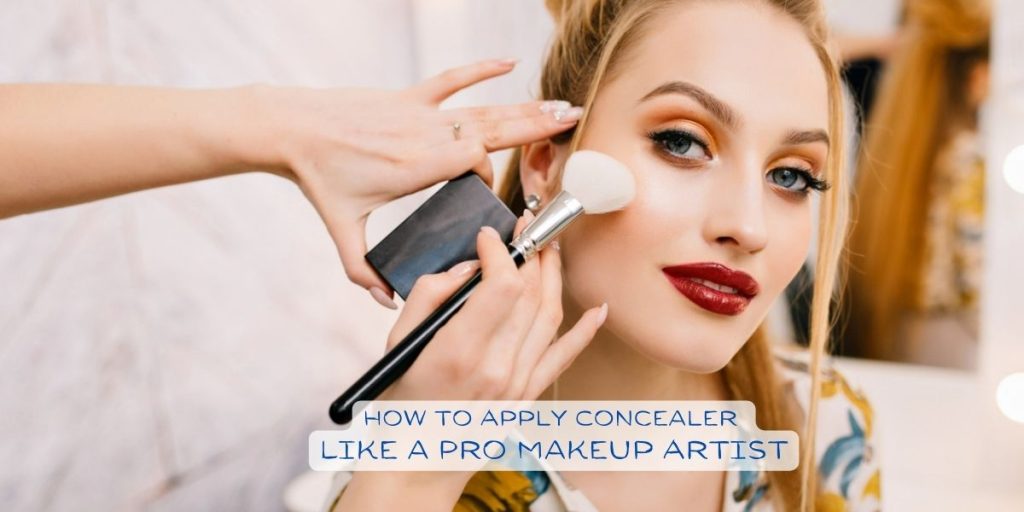
When it comes to concerns about your skin, like covering up redness, brightening up those pesky under-eye circles, or hiding blemishes, there’s one product we all need in our makeup bag: concealer. When you use it correctly, it can work wonders – concealing blemishes, evening out your skin tone, and making your under-eye area look fresh and bright, even when you didn’t get much sleep.
If you’re thinking of adding concealer to your makeup routine, there are some important things to know. It’s not complicated, and if you’re new to this, there’s no need to worry.
How to Choose the Right Concealer?
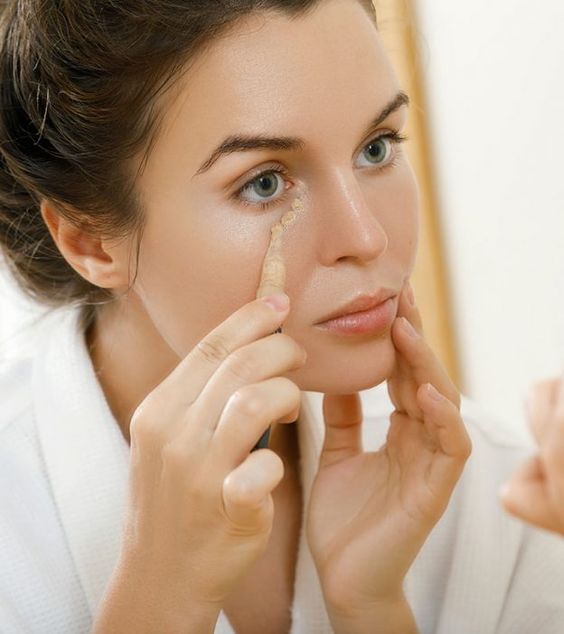
Just like you have different apps on your phone for different tasks, there are different types of concealers for various jobs. You have under-eye concealers, color-correcting formulas, options that provide light coverage, and those that offer full coverage. Karina Milan, a makeup expert from New York, calls concealer one of her top three beauty essentials, alongside mascara and SPF. She stresses the importance of selecting a concealer with the right texture that suits your specific skin type.
1. Picking the Perfect Concealer Color:
Concealers are like magical wands when it comes to hiding imperfections, but the secret to their effectiveness lies in choosing the right color. While most of us tend to associate concealer with covering blemishes, it’s essential to understand that not all imperfections are created equal. They come in various shades and tones, and that’s why there isn’t a one-size-fits-all solution.
Dark Circles
If you’re dealing with those pesky dark circles under your eyes, which sometimes appear purplish, you’ll want to use a concealer with peach or apricot tones. These hues work to neutralize the purplish discoloration. Afterward, it’s a good idea to select a concealer that’s slightly lighter, perhaps one or two shades, to brighten up the area beneath your eyes. This combination can work wonders for banishing tired, dark circles.
Redness on the Skin
Now, if your concern is redness on your skin, the trick is to choose a concealer with a green undertone. The green hue helps cancel out the redness, creating a more neutral base. Following this, select a concealer that closely matches your skin tone. This blending action makes the redness virtually disappear, leaving you with a more even complexion.
2. Tailoring Concealer to Your Skin Type:
Just as different skincare products cater to various skin types, makeup, including concealer, behaves differently depending on your skin. Before you make your concealer purchase, it’s crucial to consider what works best for your particular skin type.
For Dry Skin:
If your skin tends to be on the drier side, you’ll want a concealer that’s creamy and hydrating. This type of concealer provides the moisture your skin needs, preventing it from looking flaky or dry. One excellent option is the NARS Radiant Creamy Concealer, which is known for its hydrating properties. If your skin has fine lines due to maturity, this is especially beneficial since it has a thinner consistency that won’t settle into those lines.
For Oily Skin:
Conversely, if your skin tends to be on the oilier side, a matte finish concealer is your best friend. This type of concealer helps control shine, ensuring your makeup stays put throughout the day. Don’t forget to set your concealer with a translucent powder, especially if you’re using it to cover blemishes.
The MAYBELLINE Fit Me Matte + Poreless Foundation is an excellent choice in this scenario. It’s designed to mattify the skin, giving you a shine-free complexion while still keeping you radiant.
In essence, concealer can be your secret weapon for achieving a flawless complexion. By understanding your specific needs, such as the color correction required and the type of skin you have, you can confidently choose the perfect concealer that will leave you looking and feeling your best. So go ahead, and let your inner beauty shine!
3. Decide How Much You Want to Cover Up
Okay, let’s talk about how much you want to hide those imperfections on your skin. Do you like keeping things natural, or do you prefer going all-in with the coverage? It really depends on your skin and what you’re comfortable with.
If you want to keep things light and breezy, consider using a concealer that’s like a mix between makeup and skincare. Our go-to choice is the PRETTY VULGAR Under Cover Concealer. It’s perfect for when you want to keep things simple. It feels super light on your skin, almost like you’re wearing nothing at all, and gives your skin a healthy, radiant look.
Now, if you’re looking for a concealer that can do it all, we’ve got a recommendation for you. The KVD BEAUTY Good Apple Lightweight Full Coverage Concealer is a real superstar. It covers up all those blemishes and imperfections without making your skin feel all suffocated.
It’s great for dealing with things like dark circles, redness, and other skin issues. Plus, it has some fancy stuff like fruit stem cells and extracts to keep your delicate eye area happy and moisturized. So, you can go about your day looking and feeling fabulous!
Let’s delve into the details of how to apply concealer effectively, step by step:
Step 1: Start with a Fresh Face
Before you even think about applying concealer, it’s crucial to begin with a clean canvas. If you’ve had makeup on, it’s best to give your face a thorough cleanse. Consider using a gentle exfoliator, which helps remove dead skin cells that can make your skin look uneven and make concealer less effective.
After exfoliating, follow up with a moisturizer and an eye cream. This is important even if you have oily skin; it keeps your skin hydrated and smooth. If your moisturizer has SPF, it’s a bonus because it protects your skin from sun damage throughout the day.
Step 2: Don’t Skip Makeup Primer
To ensure that your concealer stays in place and looks fresh all day, you should use a makeup primer. A primer provides a smooth base for your makeup, helping it to adhere better to your skin. This step is essential in preventing your makeup from fading or creasing after you’ve left the house.
Step 3: Apply Your Base
Now, it’s time to apply your base makeup. You can use foundation, tinted moisturizer, or CC/BB cream, depending on your preference. Many makeup artists like to apply concealer after they’ve evened out their skin with one of these products. This method allows you to use less concealer because you’re only applying it where it’s needed.
For concealing blemishes, choose a concealer shade that matches your foundation color. When you want to brighten areas like under your eyes, use a concealer that’s a few shades lighter. This approach can help you achieve a more natural and flawless look.
Step 4. Brighten Your Under Eyes Two Ways
Now, to make your under-eye area look fresh and bright, you can do it in two ways. Here’s the scoop:
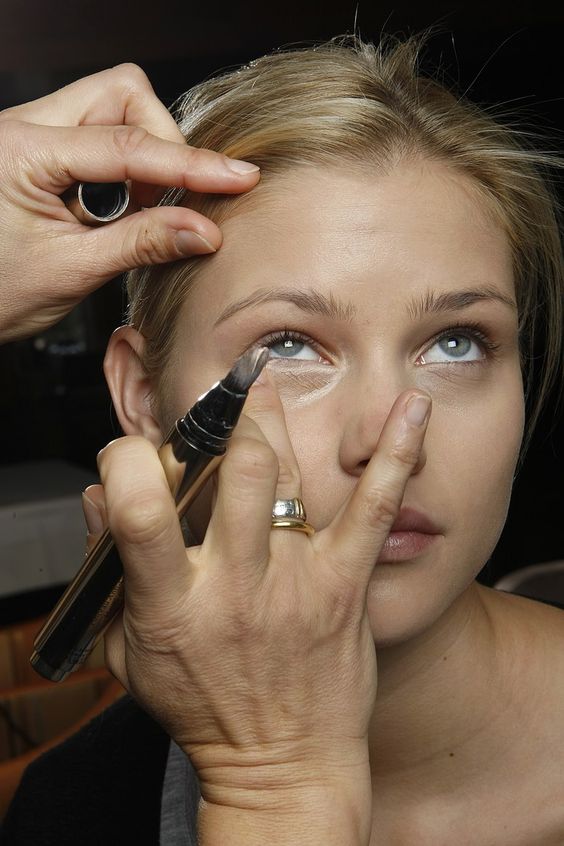
Option 1: For a natural and lifted appearance, put under-eye concealer where it’s needed most. If you don’t have much dark or discolored skin under your eyes, just apply the concealer to the inner and outer corners. This will give your eyes a lifted look. You can always add more if you need it. This works because darkness often starts in the inner corners of the eyes and fades out.
Option 2: If you want to brighten up your entire under-eye area, here’s a nifty trick. Draw two upside-down triangles under your eyes, but not too close to your eyelashes. Then, fill those triangles with concealer. Use a concealer brush or your ring finger (did you know it’s the gentlest one?) to blend and dab the concealer. Just be careful not to rub or drag it around, or it might look cakey.
Step 5. Cover Up Blemishes
Now, let’s talk about hiding blemishes and dark spots. You’ll want a concealer that gives great coverage and won’t disappear during the day.
Here’s how you do it:
- Choose a concealer that matches the foundation you’re going to use.
- Dab that concealer on the blemish or imperfection first.
- Then, put on your foundation.
- To add some extra oomph, use a concealer that’s a bit lighter (around three shades lighter) and apply it on top of the foundation. This will make certain parts of your face stand out, but remember, don’t highlight a blemish. It should blend perfectly with your foundation.
Step 6. Tackle Redness, Especially Around Your Nose
When it comes to redness, treat it gently. Don’t drag the concealer; instead, dab it gently on red areas, especially around your nose. For that tricky nose area, gently tap it with your ring finger and blend it into the creases. Lastly, use a damp makeup sponge with loose powder to set it all in place. This will help your makeup last and look flawless all day.
Step 7: Make It Last Longer with Powder
Now, let’s talk about setting powder. It’s like a magic spell for your makeup! It doesn’t just make your look stay put, but it also stops your concealer from making those annoying lines.
I do this little trick to make my concealer stay all day. After putting on concealer, I lightly dust some see-through powder on top of it. It’s like a secret weapon!
And there’s one more thing to do. After you’re all done, use a makeup setting spray. It’s like a mist of magic that makes your makeup stay in place and gives your skin a nice, fresh look.
Tips for Applying Concealer
1. Apply with Care:
When it comes to applying concealer, it’s all about using the right tools. You have two great options here: your fingers or a damp beauty sponge. Your fingers are fantastic because they transfer some of your skin’s natural warmth to the concealer, making it blend more seamlessly.
Plus, the warmth helps the product melt into your skin for a more natural look. On the other hand, a damp beauty sponge, like the famous beauty blender, is like the secret weapon of makeup application. It not only blends concealer beautifully but also adds a touch of moisture to the equation, making the blending process even more flawless.
So, whether you choose your trusty fingers or a beauty sponge, it’s all about pressing and blending that concealer into your skin for a flawless finish.
2. Get that Radiant Look:
Concealer isn’t just for covering imperfections; it can also work magic when it comes to brightening up your complexion. Here’s how it’s done: after applying your foundation, reach for a concealer pencil that’s a couple of shades lighter than your natural skin tone.
This pencil is your ticket to highlighting the areas of your face that naturally catch and reflect light. These spots are often your cheekbones, the bridge of your nose, and the center of your forehead (known as your T-zone). By using a lighter concealer here, you create a radiant, illuminated effect, making these areas stand out beautifully.
But that’s not all. If you’re aiming for a bit of contouring magic, grab a concealer pencil that’s a couple of shades darker than your skin tone. Now, apply this darker concealer to the sides of your nose, along your jawline, and even on your forehead. This technique adds some depth and dimension to your face, enhancing those beautiful features. So, in a nutshell, a lighter concealer highlights, while a darker one contours, and together they create a stunning, balanced look.
3. Lip Tricks:
Now, let’s talk about a little-known lip trick. After you’ve applied your foundation and before you reach for that lipstick, consider using a fine-tip lip brush. With this small brush, you can outline your lips with concealer. This technique, known as reverse-lining, does wonders to make your lips appear fuller and more defined. The precise application is key here, as it ensures a neat and natural look. It’s like an optical illusion for your lips.
If you’re feeling adventurous, you can take it a step further. Dab a small amount of a brightening concealer right in the center of your lips. This works wonders when you’re rocking colorful lipstick and want to create an ombre effect. Makeup artists often use this technique to add a touch of sophistication and style to your lip game. It’s a fun way to experiment and give your makeup that extra pop.
4. Fixing Color Problems:
Concealers come in various shades, and each serves a specific purpose. Sometimes, your regular concealer may not be enough to address specific skin concerns. That’s when color-correcting concealers step in.
- Green Concealer: If you’re dealing with redness, say from a pesky pimple, a green concealer is your go-to. Green is the opposite of red on the color wheel, so it neutralizes redness effectively. Dab a small amount of green concealer directly on the red spot, and watch the redness disappear like magic.
- Peach-Toned Concealer: When you have dark circles with a bluish or purplish undertone, a peach-toned concealer is your savior. The peach color cancels out the blue hues under your eyes, making you look more awake and refreshed. Simply apply a small amount of this concealer under your eyes, and blend it in gently for a flawless finish.
5. Using Concealer as an Eyeshadow Primer
Do you want to make your eyeshadow pop and stay in place all day long? Well, here’s a fantastic makeup hack for you. Instead of investing in an expensive eyeshadow primer, you can use your trusty concealer to create a perfect canvas for your eye makeup.
Why Does It Work?
Concealers are thicker and more pigmented than regular eyeshadow primers, which means they can effectively cover any discoloration or veins on your eyelids. This provides a clean and even base for your eyeshadow to adhere to, making the colors appear more vibrant.
How to Do It:
- Begin by applying a small amount of concealer on your eyelids.
- Gently blend it using your fingertip or a makeup brush, ensuring it’s evenly distributed.
- Your eyeshadow can now be applied on top of the concealed lids.
- To set everything in place and prevent creasing, lightly dust some setting powder over your eyeshadow.
Using concealer as an eyeshadow primer is not only a money-saving trick but also ensures your eye makeup stays put throughout the day, even in hot or humid conditions.
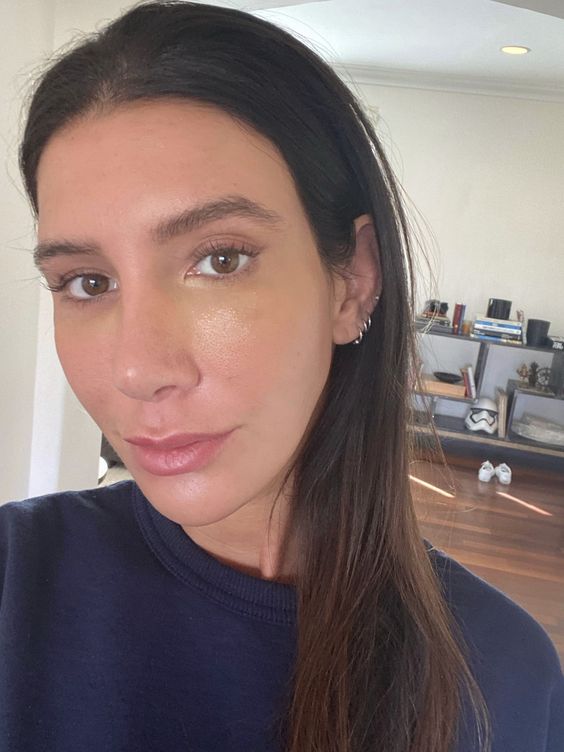
6. Creating a No-Makeup Makeup Look with Concealer
Sometimes, we want a natural, fresh-faced look without going heavy on the makeup. That’s where concealer comes to the rescue. Concealer is typically denser and offers more coverage than foundation, making it perfect for achieving a “no-makeup” makeup look with fewer products.
Why It’s Effective:
Concealer can effectively hide imperfections, redness, and dark circles while still allowing your natural skin to shine through. This results in a clean and even complexion without the heaviness of a full-coverage foundation.
Step-by-Step Guide:
- Start with a clean and moisturized face.
- Apply a small amount of medium-heavy concealer to areas that need coverage, such as under the eyes, around the nose, and on any blemishes.
- Blend the concealer gently using your fingertip or a makeup sponge. Make sure it seamlessly melts into your skin.
- To add a subtle flush of color and radiance, lightly brush on a pinky, natural blush to your cheeks.
This simple method allows you to achieve a natural and effortless look while concealing imperfections. It’s a great option for days when you want to let your skin breathe and glow.
7. Avoid Overusing Concealer
One common mistake people make when using concealer is applying too much. It’s important to understand that concealer and foundation serve different purposes. Using excessive concealer won’t make blemishes disappear faster; instead, it can create a cakey and unnatural appearance.
Tips to Avoid Overusing Concealer:
- Be strategic in your application. Only use concealer on areas that need coverage, like under-eye circles, blemishes, or redness.
- Start with a small amount and gradually build up if necessary.
- Blend the concealer well to ensure it seamlessly integrates with your natural skin.
By following these tips, you’ll achieve a flawless look without overloading your skin with concealer.
8. Choosing the Right Applicator for Concealer
The choice of applicator for your concealer can significantly impact the results. Not all applicators are created equal, so it’s important to select one that suits your needs.
Why the Applicator Matters:
The right applicator ensures precise application and seamless blending. It can save you time and effort during your makeup routine.
Applicator Recommendations:
- Look for makeup sponges or brushes designed for concealer application. These are specifically designed to work with the thicker texture of concealer.
- Some concealers come with specialized applicators. For instance, the BE A 10 Be Discreet Concealer has a pom-pom applicator, which is effective at placing the concealer exactly where you need it.
- Applicators can also help with blending, so you may not even need a separate brush.
Choosing the right applicator ensures that you get the most out of your concealer and achieve a flawless finish with ease.
By following these tips and tricks, you can make the most of your concealer and elevate your makeup game while maintaining a natural and effortless look. Whether you’re aiming for a crease-free eyeshadow base, a no-makeup makeup look, or simply using concealer to cover imperfections, these techniques will help you look and feel your best.
Conclusion
Mastering the art of applying concealer like a pro makeup artist can transform your makeup routine and enhance your natural beauty. By selecting the right concealer color to address specific imperfections, tailoring your choice to your skin type, and deciding on the level of coverage you desire, you can achieve a flawless complexion.
Additionally, the application process is just as critical as product choice – using the right tools and techniques, such as blending with your fingers or a makeup sponge, can make a significant difference in your final look. Beyond concealing imperfections, concealer can be used for various makeup tricks, from highlighting and contouring to creating a no-makeup makeup look and serving as an eyeshadow primer.
Remember to be mindful of not overusing concealer and choose the right applicator for your needs. With these tips and tricks, you can confidently apply concealer to look and feel your best, allowing your inner beauty to shine through effortlessly. So, go ahead and embrace the power of concealer to elevate your makeup game and achieve a radiant, flawless appearance.
